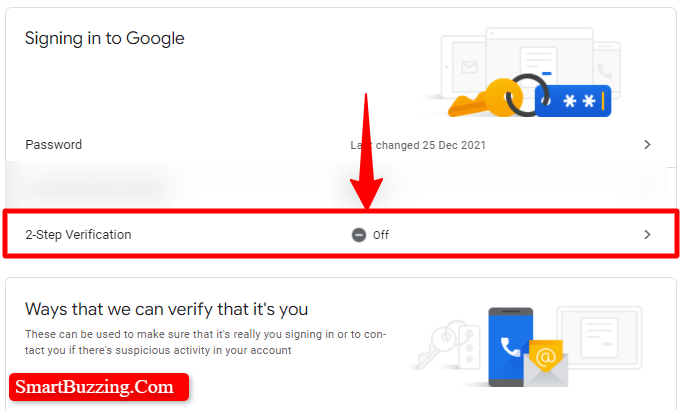
How Do I Turn On 2 Step Verification For Google On Android? – In this guide, I will show you how to turn on 2 Step Verification for Google on Android phones without any hassle.
2-Step Verification, also known as two-factor authentication is an extra layer of security that you can activate to your account in case your password is stolen.
Before getting started, sign in to your Google account and follow the steps outlined below for a complete guide.
Read Also: How To Secure Google Account With 2-Step Verification On Windows PC
How To Turn On 2 Step Verification For Google On Android
Below are the steps on how to turn on 2 Step Verification for Google on Android Phones and Tablet
1. On your Android phone’s desktop, locate and click on the Gmail icon
2. At the top-right corner of the app, click on the Profile photo. If you have multiple accounts already logged in, select the one you would like to enable the 2-Step Verification on.
3. Once you have successfully logged in to your account, come back again and click on the “Manage your Google Account“. Kindly wait for a few minutes to fully load the next page.
4. On the Manage your Google Account window, locate and click on Settings
5. On the Settings tab, look for 2-Step Verification and click on it.

6. Next, click on the GET STARTED button. This will require you to sign in to your Google account.

7. Enter your Password to continue
8. Next, you will have to use your phone as your second step to sign in, just click on the CONTINUE button to proceed.
9. Next is to add a backup option. If you lose your phone or your second step is unavailable, you’ll need a backup option to help you get into your account.
Choose your country, enter your mobile phone number and select how you would like to receive a unique code that will be sent to you to proceed to sign in and click on the SEND button. You may click on the USE ANOTHER BACKUP OPTION link for other alternatives.
10. Next, confirm that it works by entering the unique code that is sent to you in the given field, and clicking on the Next button. This will validate the PIN and proceed to the next step.
11. Next, click on the TURN ON button to enable Gmail 2-Step Verification on Android phones and Tablets. You will be signed in to your Gmail account on the device you used.
You might be signed out of your other devices if you have performed this process before. To sign back in, you will need your password and a 2-Step Verification PIN that will be sent to you when you try signing in again.
12. Sign in to your Google account by entering the associated password.
13. Next, click on the TURN ON button.
You are finally done. That is how easy to turn on 2 Step Verification for Google on Android.
PC Tutorials
In conclusion, these are the steps on how to turn on 2 Step Verification for Google on Android phones and Tablets. For more information, click here.